08 November 2026
What Goes Into a Well-Built Artificial Putting Green
Presented by @syntheticputtinggreennest
Building a putting green that actually plays well
A backyard putting green can be a rewarding addition to a home, but the difference between a surface that rolls true and one that frustrates every putt comes down to what happens before the turf is laid. Many people focus on the look of the grass and overlook the layers underneath, yet those layers determine how the ball behaves and how long the surface lasts. Getting the details right from the start saves time, money, and the disappointment of a green that never quite works as intended.
Start with the ground work
The base is the most critical part of any putting green installation. A stable, compacted sub-base prevents the turf from shifting, developing dips, or forming uneven spots over time. Most installations use a layer of crushed rock or decomposed granite that is spread, leveled, and compacted with a plate compactor. The depth of this base depends on the existing soil and the local climate, but the goal is always the same: a solid foundation that drains well and stays flat.
Drainage matters just as much as stability. Water that pools on a putting green softens the base, causes the turf to ripple, and leads to algae or mildew. A properly sloped base, usually a one to two percent grade away from the house or toward a drain, channels water away efficiently. In areas with heavy rain, some installers add a perforated drain pipe beneath the base to move water even faster. Checking that the ground slopes correctly before laying turf is far easier than fixing a soggy green later.
Choosing the right turf
Not all artificial grass works well for putting. Turf meant for lawns or pet areas often has a pile height that is too tall or a fiber stiffness that makes the ball bounce unpredictably. A dedicated putting surface uses a shorter pile height, typically between half an inch and three-quarters of an inch, with dense polyethylene fibers that mimic the texture of a real green. The fibers need to stand upright without being too stiff, so the ball rolls smoothly over them rather than skipping or snagging.
Another factor is the backing material. A high-quality backing holds the fibers securely and resists stretching over time. Some backings include a permeable layer that allows water to pass through, which works with the base drainage to keep the surface dry. If the turf backing traps water, the green will stay damp longer and may develop a musty smell. Checking the backing construction before purchase gives a good sense of whether the turf will hold up under regular use.
Infill and its role in performance
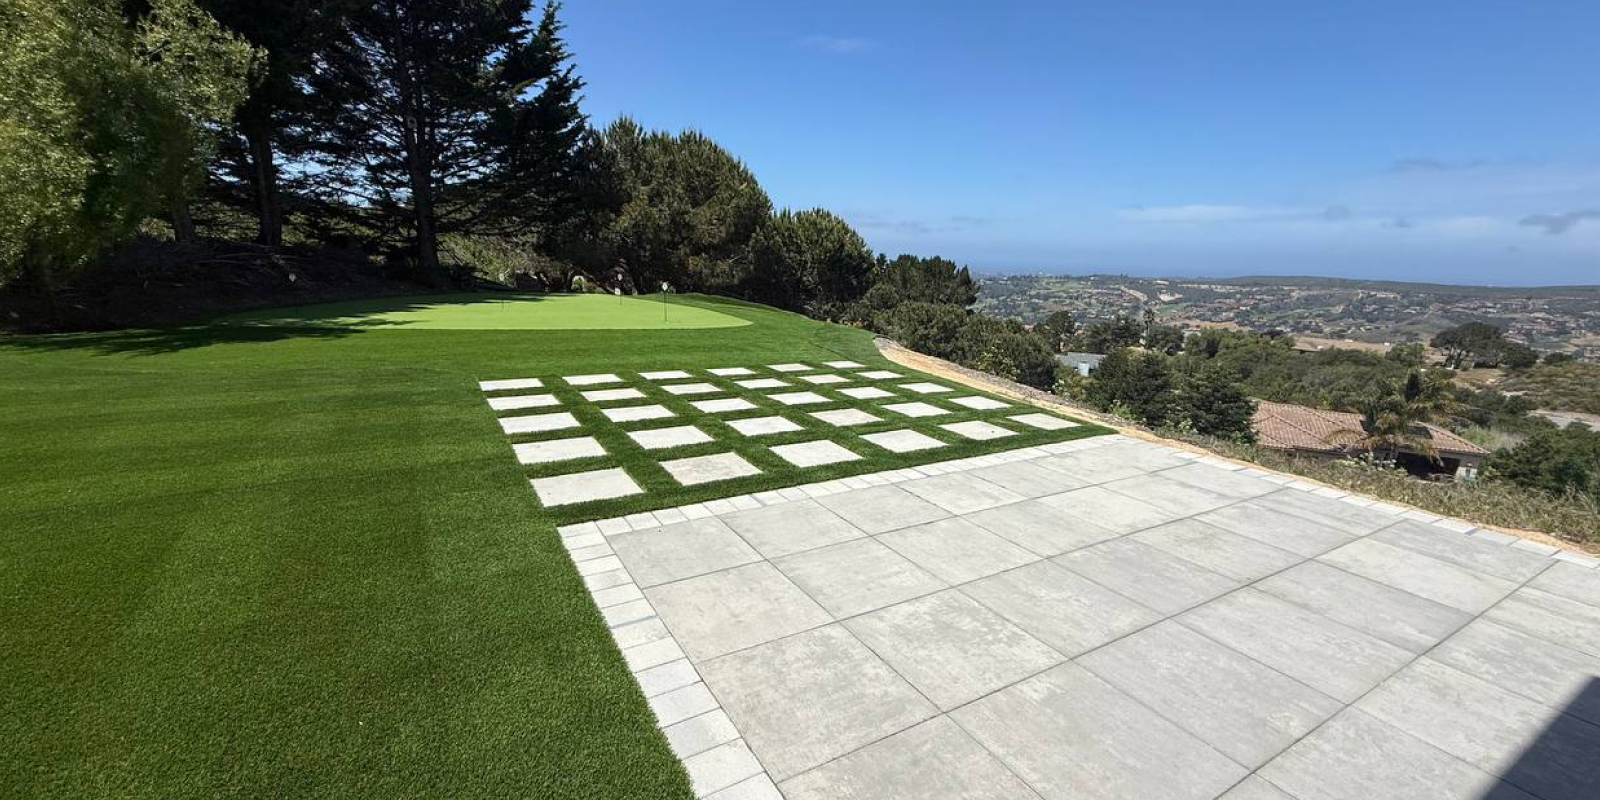
Infill is the material spread between the turf fibers after installation. It does more than just weigh down the grass. Infill helps the fibers stand upright, provides cushioning underfoot, and adds weight to keep the turf in place. For putting greens, the most common infill options are silica sand and a rubber-sand mix. Silica sand alone gives a firm surface that rolls fast, while adding a small amount of rubber granules softens the feel slightly and reduces glare.
The amount of infill matters. Too little and the fibers will lie flat, making the green slow and uneven. Too much and the surface becomes hard, and the ball may bounce. Most manufacturers recommend a specific infill rate by weight per square foot. Following that rate closely during installation produces a consistent roll across the whole surface. The infill also needs to be brushed in thoroughly, usually with a power broom, so it settles evenly and doesn't clump.
Adding the cup and fringe
A putting green feels incomplete without a hole to putt into. A standard golf cup, usually four and a quarter inches in diameter, is set into the turf during installation. The cup sits in a plastic sleeve that keeps its shape and prevents the edges from collapsing. The turf around the cup is cut carefully, either with a circle cutter or a sharp utility knife, so the cup lip sits flush with the surface. If the cup sits too high or too low, putts that roll over it will bounce or drop unexpectedly.
The fringe around the green is another design choice that affects play. A collar of taller artificial grass, sometimes in a darker shade, frames the putting surface and gives it a more finished look. The fringe also catches errant putts and keeps them from rolling off into the lawn. Some homeowners skip the fringe and let the putting turf meet the surrounding grass directly, but the visual separation of a fringe helps define the green and makes it feel more like a real course feature.
Common mistakes to avoid
Skipping the compaction step is one of the most common errors. Spreading a base layer and not compacting it properly leaves the ground soft. Over time, foot traffic and weather will press the base down unevenly, creating dips that make putts veer off line. Compacting the base in thin lifts, usually two to three inches at a time, gives a much more stable result than trying to compact a thick layer all at once.
Another mistake is choosing turf based on appearance alone. A lush, thick turf might look great in a showroom but could be too tall or too soft for putting. The ball needs a firm, consistent surface to roll true, and that requires the right combination of pile height, fiber density, and infill. Testing the turf with a putter before installation, if possible, gives a much better sense of how it will perform than just looking at a sample.
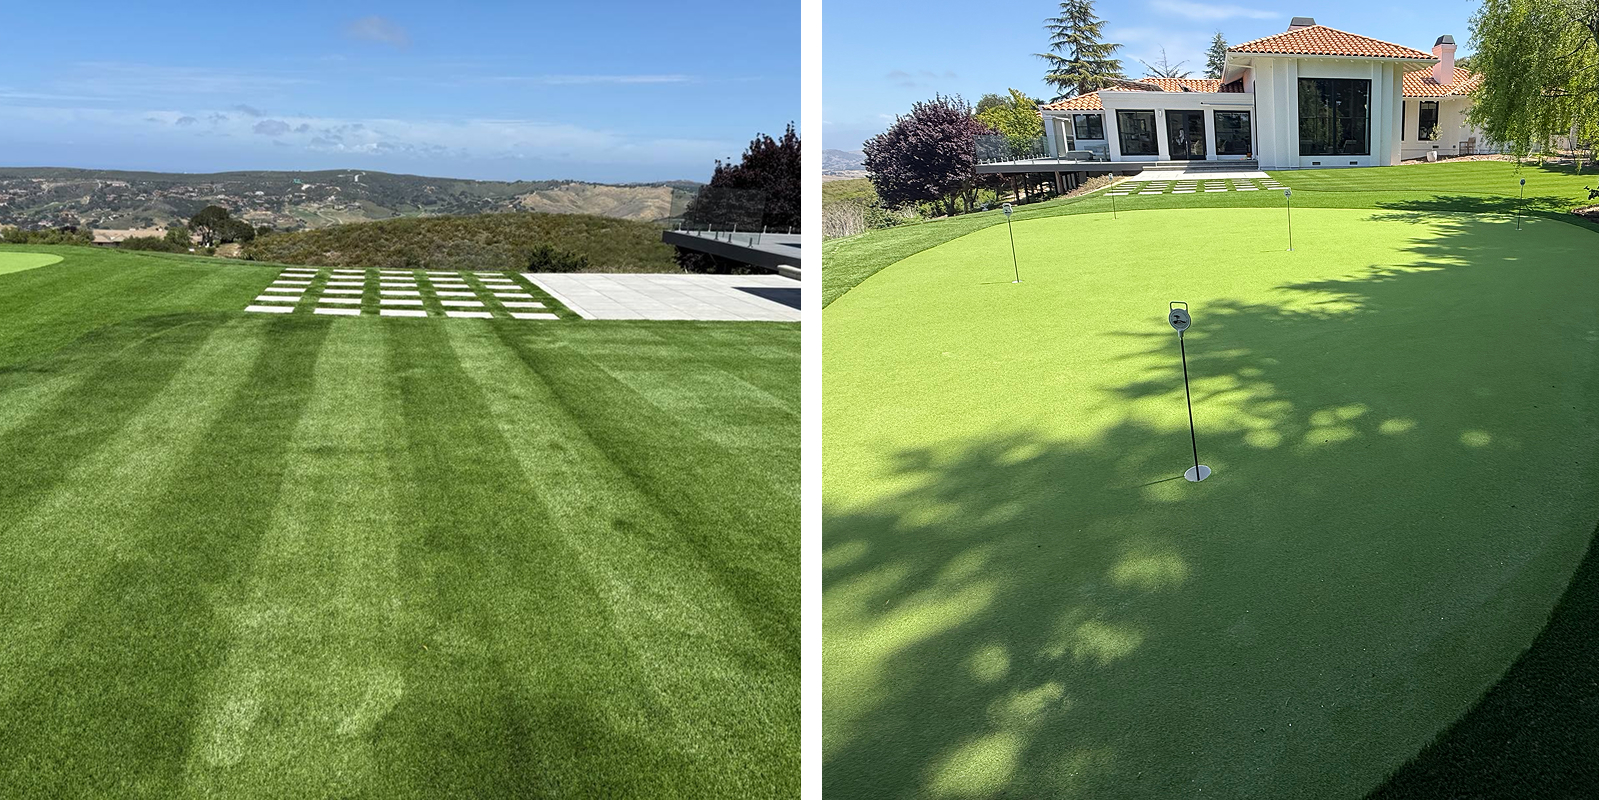
Ignoring local climate is also a pitfall. In hot, sunny regions, turf that absorbs excessive heat can become uncomfortable to walk on and may cause the fibers to degrade faster. In cooler, wetter areas, drainage and freeze-thaw cycles become more important. Choosing turf and infill materials suited to the local weather extends the life of the green and keeps it playable year-round.
Maintenance after installation
An artificial putting green requires less upkeep than natural grass, but it is not zero-maintenance. Leaves, twigs, and debris should be brushed off regularly so they don't break down and clog the drainage layer. The fibers need occasional brushing to keep them from matting down, especially in high-traffic areas. A stiff broom or a power brush attachment for a drill works well for this task.
The infill may settle or shift over time, particularly after heavy rain or frequent use. Topping up the infill every year or two keeps the surface consistent. Some homeowners find that their green rolls faster in the first few months as the infill settles, then slows down as the fibers flatten slightly. Brushing the fibers upright and adding a small amount of fresh infill can restore the original speed.
Checking the edges and seams periodically is also wise. The turf is usually secured around the perimeter with nails or staples, and these can work loose as the ground shifts. Re-securing any loose edges early prevents the turf from curling or tearing. A well-maintained artificial putting green can provide years of reliable use with relatively simple care.
Thinking about the bigger picture
A synthetic putting green fits into a broader landscape design, and thinking about how it connects to the rest of the yard can improve both function and appearance. Placing the green near a patio or seating area makes it easy to practice while entertaining. Adding a small border of low-maintenance plants or decorative stone softens the transition between the green and the lawn. If the yard also includes pet turf or water-efficient landscaping, coordinating the materials and colors creates a cohesive look.
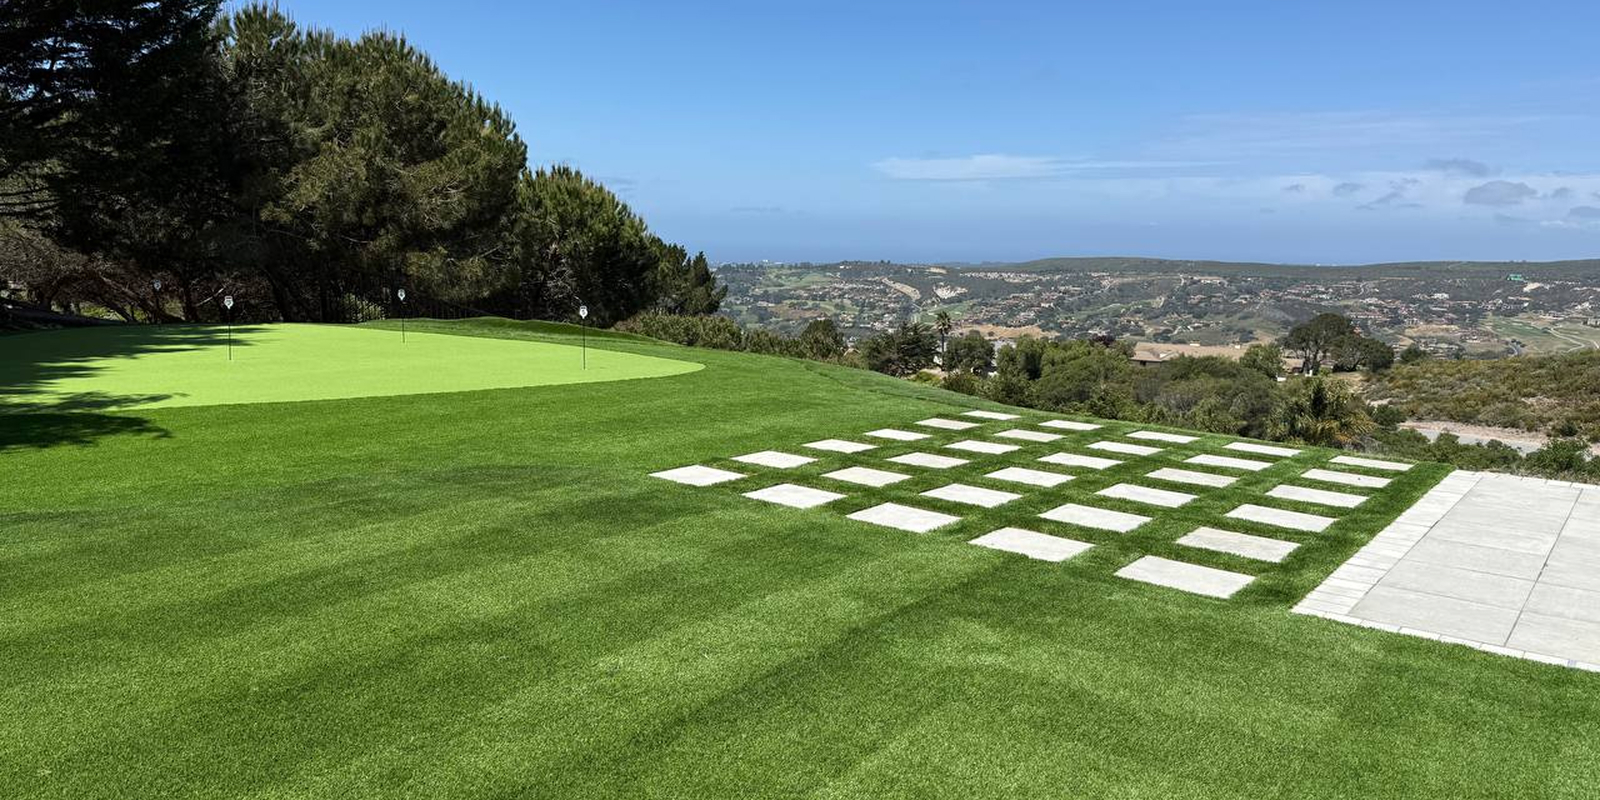
Some homeowners choose to install multiple small putting surfaces rather than one large green. This approach allows for different hole locations and putt lengths without taking up the entire yard. It also makes the installation simpler, since each smaller area can be leveled and drained independently. Whether the goal is a single practice green or a more elaborate setup, the principles of good base preparation, proper turf selection, and careful installation remain the same.
Getting the details right pays off
Putting together a backyard green that plays well is not complicated, but it does require attention to each step. The base must be solid and well-drained. The turf must be chosen for performance, not just looks. The infill must be applied evenly, and the cup must be set flush. Avoiding shortcuts during installation makes the difference between a surface that delights and one that disappoints. With careful planning and solid execution, a well-built green becomes a lasting part of the home landscape.